
Last week I visited a geo data talk at Linuxwochen Linz which was mainly about the tool QGIS. The talk was held by two guys who also write this blog. I am planning to work more with geo data in the future so I installed QGIS and tried a simple example.
Contents
Installation on OS X
From the description at their website it is not exactly clear what you need to download but I got the program running with the following 3 things:
Install these 3 and you will have QGIS up and running!
First steps to visualise a hiking track
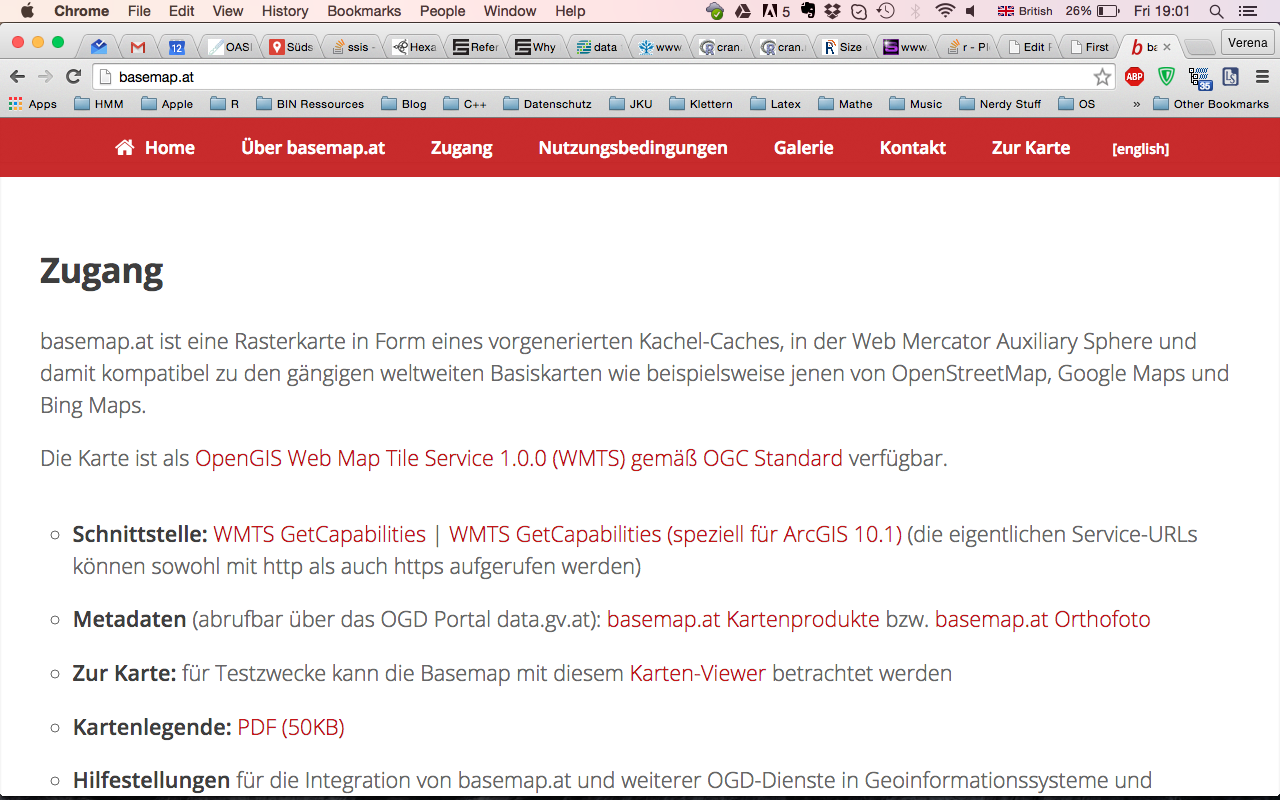
After starting the program you have many, many options. The first thing you can do is adding a map from several different sources. I chose a WMS/WMTS layer because there is a cool website called basemap, where you can get really good map resources from Austria.
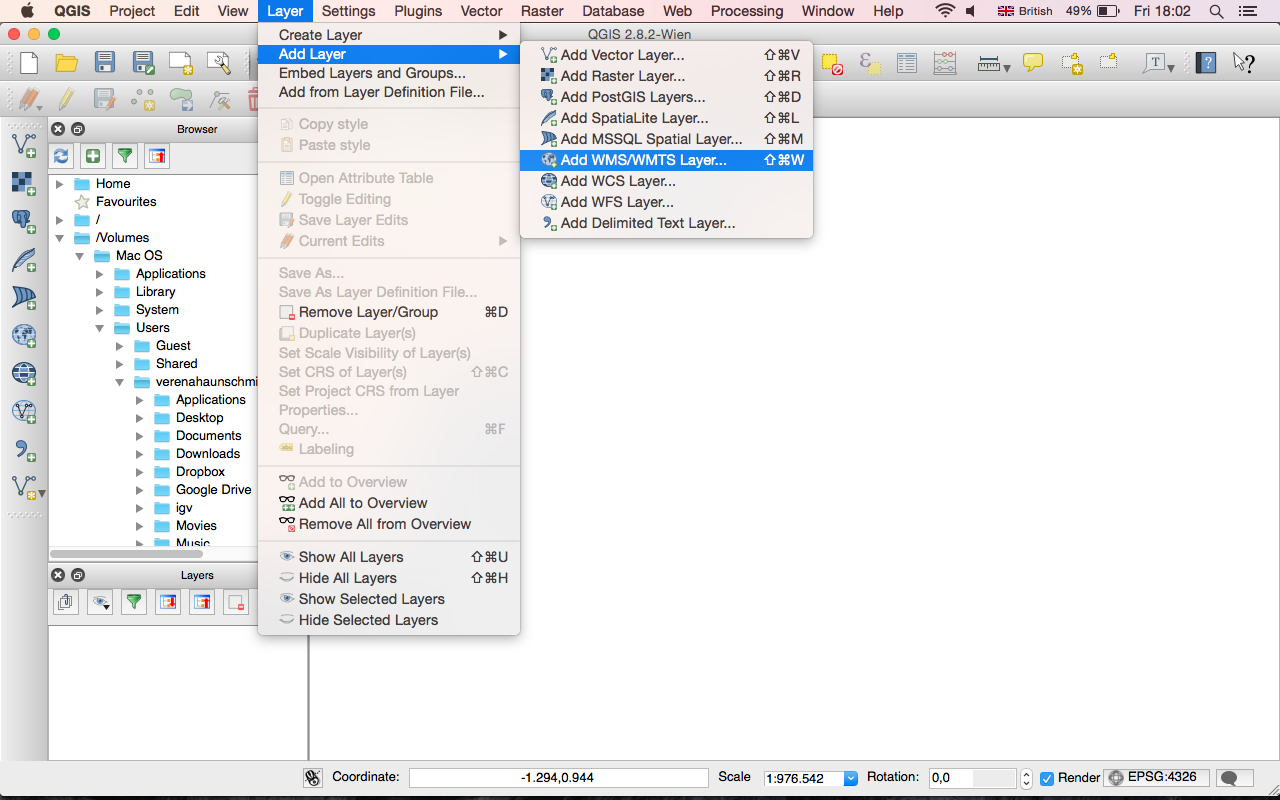
The link I used is the one next to “Schnittstelle:” WMTS GetCapabilities, when you click on it you get an xml file with the link you need to copy.
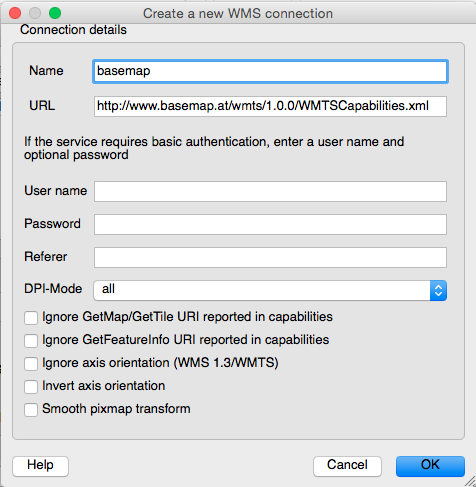
After clicking the context menu item you can name your connection and paste the URL.
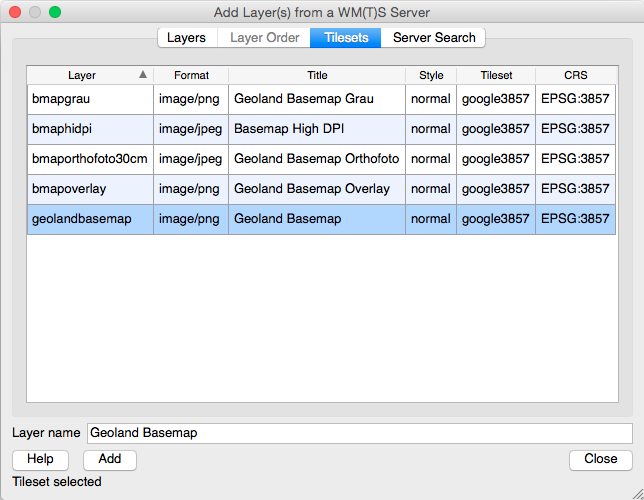
Then you can select one of five maps, for my example I used “Geoland Basemap”.
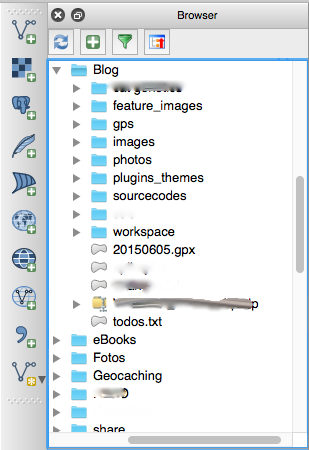
You can also simple drag files from your file system onto the map. Which I did for a gpx file containing a hiking track we recorded last week.
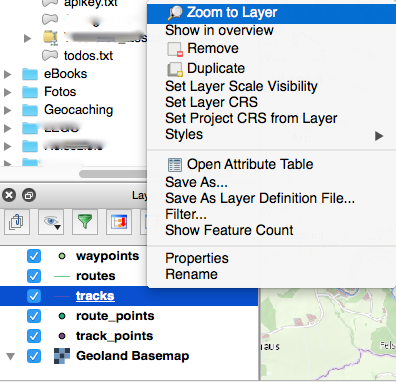
One thing seems to be buggy in QGIS which I also saw during the talk I visited, but unfortunately I don’t remember how they fixed it. After loading the map it can not be seen and all kinds of zooming and dragging did not change that. But after adding the gpx track and clicking “Zoom to layer” the map including the track appeared in the middle of the map.
Below you can see a visualisation of our hiking track:

Currently I don’t know very much about this program but as far as I saw in the talk it is very powerful and I am looking forward to explore it and also my GPS data. 🙂
Voi cool, muss i moi in Windows ausprobieren! 🙂