Some weeks ago Netflix posted a cool project on their website, Netflix socks that will pause your show when you fall asleep. Since I fall asleep a lot during watching TV, I thought this was a cool idea for a small project. In this post I’ll show you how to set up the Arduino for this and other projects. In the first few days of working with the Arduino I already learned a few really useful things.
The first steps for me were to get all the necessary hardware, setup my computer with the software and create some small test programs because I have never used an Arduino before. This post will give an introduction to coding an Arduino, the next posts will focus on using an accelerometer, sending IR signals and finally putting all the parts together to create Netflix socks.
You can follow my progress on github.
Contents
Hardware
I did not get the exact same hardware as suggested by Neflix, this is my list:
- Teensy 3.1
- ADXL335 3-Axis Beschleunigungssensor
- A green LED for debugging purposes
- A resistor with 100 Ohm
- Some more resistor for debugging purposes
- An IR LED
- Several cables
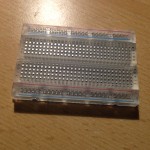
- A Breadboard
Big amounts of cables, LEDs, resistors and so on can usually be bought in sets like this Starter Kit. If you don’t have an Arduino yet you might consider buying and Arduino Starter Kit
.
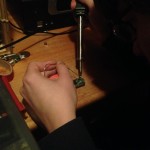
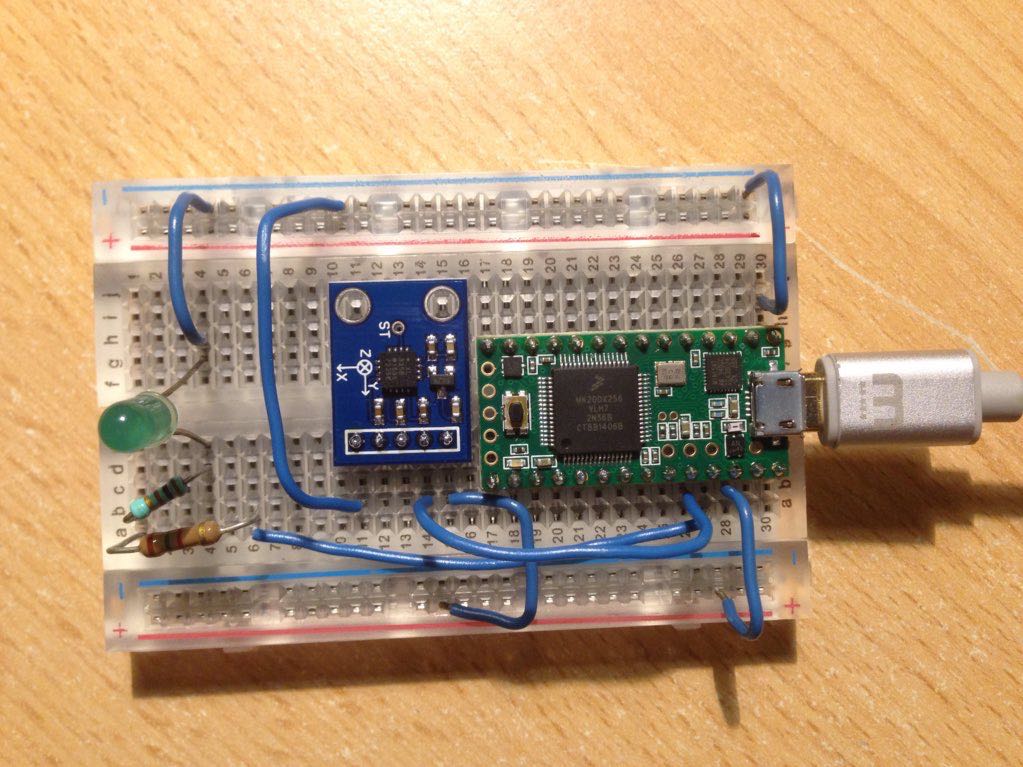
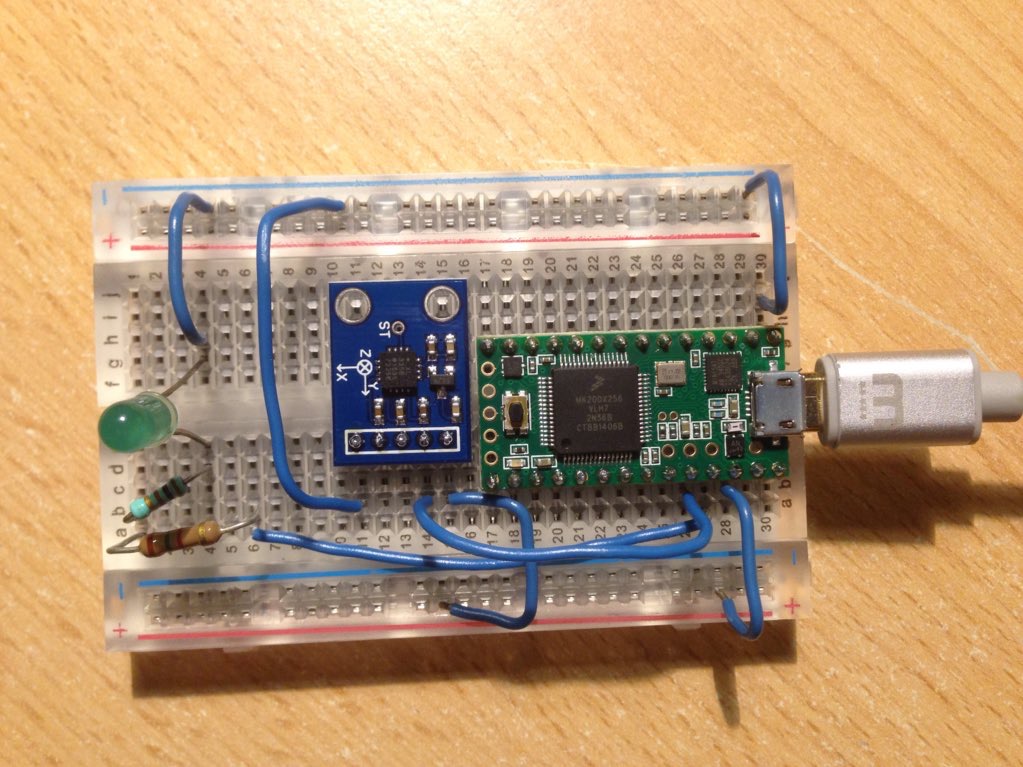
For the first steps I built a test setup on a breadboard. Patrick soldered the Teensy and the accelerometer to separate pin strips which can be plugged into the breadboard. For testing I used a green LED instead of the IR LED. The resistor added up to 250 Ohm which was a bit too much for the green LED but I guess it’s better to be on the safe side 🙂 The green LED was connected to pin 23.
Software setup
I am using a Mac so I got the Mac versions of all programs I need. But the installation should be analogue on Windows and Linux. The first thing you need is the Arduino IDE.
To be able to use a Teensy you need two additional programs:
- Teensy Loader (includes installation guide)
- Teensyduino
You need to check which versions of Arduino are supported by Teensyduino. When I wrote this post the newest version of Arduino (1.6.8) was not supported so I installed an older version (1.6.7).
First steps
When you open the Arduino IDE the first time and create a new sketch, you will see that the program consists of two methods:
- void setup() { … } Here you put the code that is run once, e.g. initialisations, setting the mode (INPUT, OUTPUT) of pins, …
- void loop() { … } Here you put the code that is executed forever (like in a while(TRUE) loop). This can be code to observe some ports, blink a LED, do something if an input changes …
One thing that is very useful is a pinout that tells you how to reference each pin in the code and whether they are analogue, digital and several other properties.
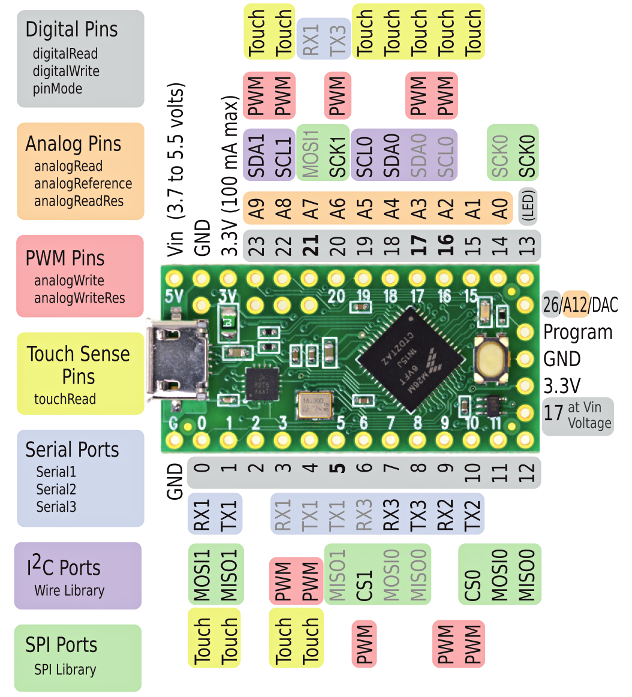
The first program I wrote was used to turn the green pin on, reduce the brightness to about 50% and then turn it off again. For this purpose I need an analogue pin which is capable of pulse width modulation (PWM). Therefore I checked the pinout and choose one of the available pins.
int greenPin = 23;

void setup() {
  pinMode(greenPin, OUTPUT);
}

void loop() {
  analogWrite(greenPin, 255);
  delay(500);
  analogWrite(greenPin, 125);
  delay(500);
  analogWrite(greenPin, 0);
  delay(500);
}
For testing purposes you can also use pin 13, which is a LED that’s directly on the Teensy 3.1.
Adding libraries
Sometimes it is necessary that you add a library instead of writing everything yourself. For my project I will need a library for the accelerometer and also for the IR LED. I found two on github:
You can add a library with the following steps:
- Download the library as a .zip
- Place it in the directory Arduino/libraries (on a Mac this is in the Documents directory)
- Go to the Arduino IDE
- Click Sketch > Include library > Add .ZIP library > Select your .zip directory
- Later you can add a library to your project from the list at Sketch > Include library
Use the console for debugging and output
Often it is useful to print debug information, e.g. the values measured by a sensor. I wrote a short program to show how to do this.
int greenPin = 23;

void setup() {
  // put your setup code here, to run once:
  Serial.begin(9600);
  pinMode(greenPin, OUTPUT);
}

void loop() {
  // put your main code here, to run repeatedly:
  Serial.print("Hello World!\n");
  analogWrite(greenPin, 125);
  delay(500);
}
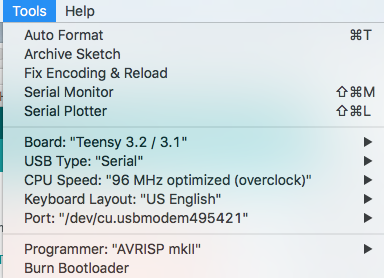
Go to Tools > Serial Monitor and a console will pop up that displays everything your Arduino prints.

It might be necessary to change some settings to make the serial output work. I am not completely sure which are necessary but the next screenshot shows the settings I have with which it works.
Summary
In this post I showed you how to set up the Arduino which is the basis for my “Netflix Socks” project. New posts will be collected under the tag netflix-socks.
This is great, I see we’re both coincidentally learning Data Science and playing with Arduinos. My Arduino starter kit requires, for some projects, a device that I can take apart that uses 9V batteries. Did you or do you need to acquire a similar thing? If so did you make a decision about which one to get?
Hi Adam,
thank you for your comment! Unfortunately no, I didn’t need something similar so far. Please keep me updated if you find out more!
It’s cool that there are other people who are interested in similar things 🙂 Do you have a blog or Twitter account I can follow?
Best,
Verena